
Lian Li O11D EVO Upright GPU Bracket Shiyong-Shuomingshu
PDF 手册 · 2 Pages
中文



快速检查
答案不正确,请重试。
使用 AI 与您的 Lian Li O11D EVO Upright GPU Bracket 手册聊天
从您的 Lian Li O11D EVO Upright GPU Bracket 手册中获取即时 AI 答案
询问有关 Lian Li O11D EVO Upright GPU Bracket 的任何问题。答案来自本手册及其所依据的页面。
提问 问题
您会推荐 O11D EVO Upright GPU Bracket 吗?
是 否常见问题 问题
该支架专为 Nvidia 40 Series GPU 设计,以支持新的电源标准.
此回答有帮助吗?
可以,但安装 120 mm 风扇会阻挡某些螺丝位置和方式 2 与方式 3 的安装方法.
此回答有帮助吗?
您必须直接从电源单元布设 12VHPWR 电缆,不得使用适配器电缆.
此回答有帮助吗?
主板宽度限制为 244 mm,以确保支架无干涉安装.
此回答有帮助吗?
是的,有 O11DE-9X 和 O11DE-10X 套件,包含不同的组件要求.
此回答有帮助吗?
是的,使用较薄显卡时,L 型支架可以安装在反向模式.
此回答有帮助吗?
将风扇安装到底部,为支架安装和布线留出空间.
此回答有帮助吗?
優勢 和 劣勢
优势

- 支持 40 Series GPU 垂直安装,以获得更好的外观.
- 提供高度微调以适应各种 GPU 长度.
- 指定了水冷块宽度间隙以确保兼容性.
- 提供五种安装方向以增加灵活性.
- 与 O11D EVO 机箱壳体设计兼容.
缺点

- 120 mm 风扇安装限制螺丝选项.
- 12VHPWR 电缆必须直接从 PSU 连接.
- O11DE-10X 套件需要来自旧套件的额外部件.
- 主板宽度严格限制在 244 mm.
- 首先要求拆除标准安装托盘.
产品 规格
类型
显卡支架 (显卡), PCI 挡板 (PCI 插槽)
产品 描述
Building a High Performance System with the O11D EVO Upright Bracket
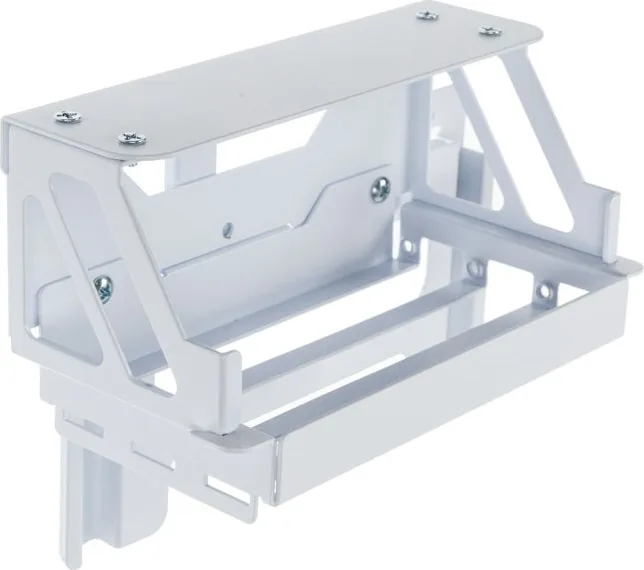
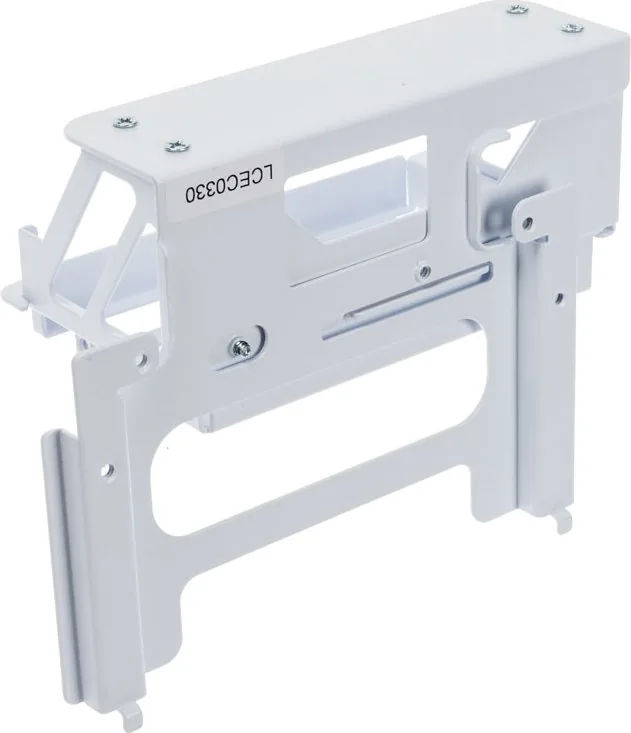
Building a high-end PC requires strict attention to thermal dynamics and physical structure. The Lian Li O11D EVO Upright Bracket Manual provides essential guidance for mounting graphics cards vertically in your case. This accessory transforms your build by allowing the GPU to stand tall, reducing sag and improving airflow patterns significantly. Installing the bracket involves specific steps regarding the backplate and fan clearance requirements. Users must verify motherboard width compatibility, ensuring it does not exceed 244 millimeters anywhere in the layout. The hardware supports 40 Series GPUs specifically, requiring careful cable management for the new 12VHPWR connection on the power supply. You should route the power cable directly from the power supply unit without using the NVIDIA adapter. This prevents overheating and ensures safety during high performance tasks inside the chassis. Installation options vary based on fan presence, with 120 mm fans blocking certain screw configurations permanently. The bracket supports multiple mounting positions to accommodate different GPU lengths and power connector locations efficiently. Adjusting the height allows for perfect alignment during the setup process for all users. Water block clearance is also a strict factor, with limits at 151 millimeters for the first slot and 158 millimeters for the second slot. Careful planning prevents interference with the motherboard socket placement during the assembly phase. Reviewing the installation diagrams helps visualize cable routing through the fan bracket before you start. This ensures a clean look inside the chassis without messy cables visible from the outside. There are actually five ways to install the big L-type support bracket in two different directions. You must assess the power cable socket and card width to choose the correct method.
Installation and Compatibility Details
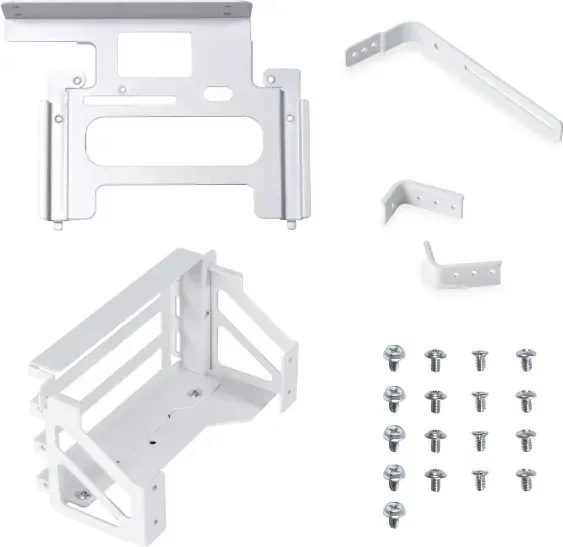
Properly securing the back bracket into the fan bracket hole locks everything in place securely. You need to remove the standard mounting tray before beginning any physical installation steps. Many users appreciate the ability to reverse the L-type support bracket for thinner cards easily. The variants available include different part sets for specific model revisions within the case system. For example, the O11DE-9X includes a full range of components listed from A to J. The O11DE-10X requires parts from older versions like O11DE-2X to function correctly. This compatibility detail is crucial for early planning stages before purchasing parts. If you install a 120 mm fan, certain ways to attach the bracket become unavailable for use. Always prioritize structural stability over aesthetic choices when mounting heavy graphics hardware. The output cables must be routed through specific pathways to avoid bending sharp angles dangerously. Following the detailed instructions ensures that all connections remain secure under heavy load stress. Thermal performance benefits significantly when the card sits upright in the dedicated chamber. The process demands patience but rewards enthusiasts with a professional appearance. Ultimately, this solution is ideal for those seeking a modern, space-efficient layout that maximizes vertical space effectively. You must consider cable length when routing the PCIe riser cable as well. Removing rubber grommets may be necessary for a tighter fit. Ensure the tray is in its place before finishing the assembly cycle. Screw D cannot be used if a 120 mm fan is present during this phase of construction. Route the signal cable through the top of the fan bracket as shown in the visual aids. Do not use the specific screw positions marked for Way 2 and Way 3 under 120 mm fans.
搜索:67,706 在线手册


输入品牌或型号